Using VirtualBox

Creating a Virtual Machine

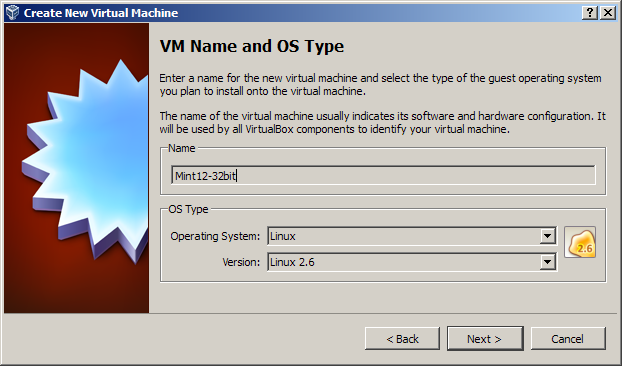
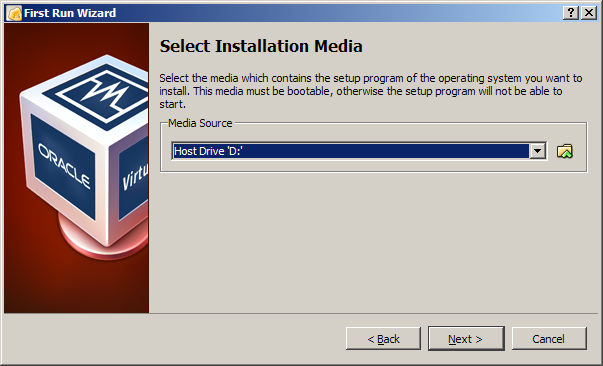
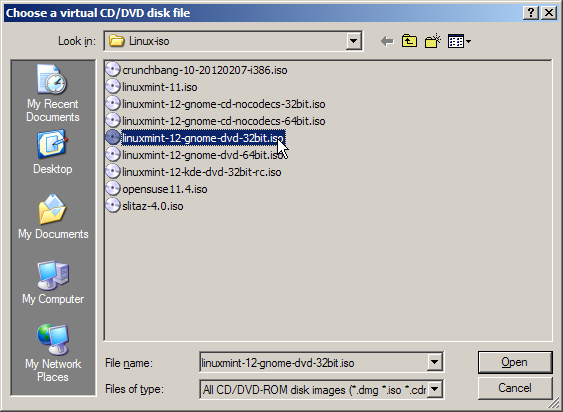
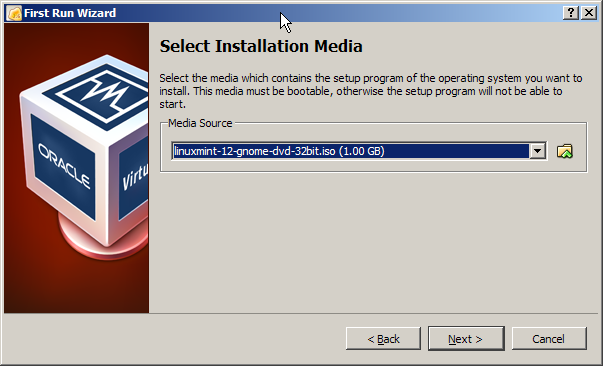
This tutorial is a little old and uses an older version of VirtualBox. It also shows you how to install Linux Mint 12 (Lisa) 32-bit in it. If you are using a newer version of VirtualBox and installing a different version of Mint or a 64-bit version (most likely), all of the information is the same, but instead of seeing "12" and 32-bit, as in the screenshots below, you will be seeing your version number and/or 64-bit.

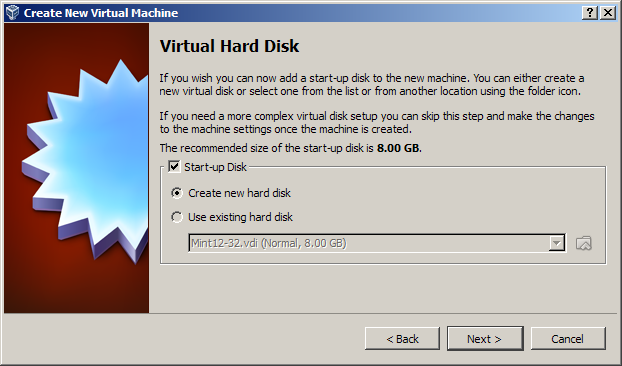
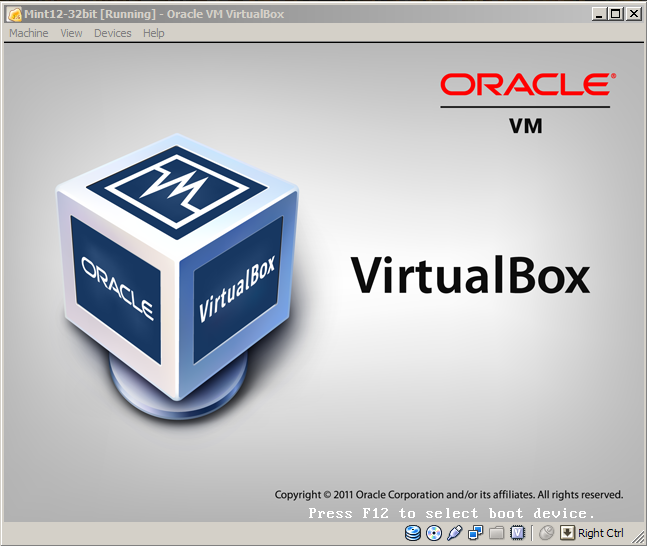
Update: In order to get VirtualBox to work with 64-bit (and some 32-bit) virtual machines, you must enable virtualization in the BIOS on the motherboard. How you do that depends on the motherboard (vendor) that you have. Here is a video that demonstrates how to do it on an Asus motherboard. Your motherboard may be different, but the steps will likely be similar. If you don't know what BIOS you have, you may have to Google for your motherboard.

  1. Launch VirtualBox and click on the New button (the button on the far left) to start the process. You'll see this window with an introduction to what's about to happen:
    Click Next to move to the next window.
  2. VM Name and OS Type - Here, you are asked for 3 pieces of information:

    1. The name of the virtual machine - This can be almost anything, but since a folder on the disk will be created with this name, don't use any illegal characters. It's safest to stick to letters and numbers only.
    2. The operating system type - You can select from predefined types. You should select Linux.
    3. The version of the OS - If the exact version is listed, you can select it. If it's not listed, you'll select either "Linux 2.6" or "Linux 2.6 64-bit", for 32-bit and 64-bit, respectively.
    Click Next to continue.
  3. Memory - Here you specify how much memory you want the virtual machine to have. Remember, the amount of memory you choose will be taken from the host machine, so don't take too much. In this example, VirtualBox recommends 256 MB of RAM, but I like to give the machine a little more, since I have 2 GB on the host machine. I chose 768 MB.
    Click Next to continue.
  4. Virtual Hard Disk - Here you specify how big the hard disk for the virtual machine is going to be. You can specify any size up to the amount of free space you have on the host machine. This is usually way too much. The recommended amount will depend on the particular version of the OS you are going to install. But, if you plan on installing additional software in this virtual machine, you'll want to set it higher. I would recommend at least 20 GB. Realize that it won't actually take 20 GB from your hard drive when you create it. It will just limit the drive's growth up to 20 GB. You probably won't reach that limit unless you install lots of stuff.
    Click Next to continue.
  5. Virtual disk creation wizard - Here you choose the type of virtual disk. Choose VDI. Refer to the VirtualBox documentation to learn more about the different types.
    Click Next to continue.
  6. Virtual disk storage details - Here you choose whether the disk is dynamically allocated, or if it is a fixed size. Choose Dynamically allocated. Refer to the VirtualBox documentation to learn about the differences.
    Click Next to continue.
  7. Virtual disk file location and size - Here you choose where you want to store the virtual disk (on the host computer) and the maximum size of the disk. I chose to make the disk 12 GB in size, which will be plenty for the testing I want to do with the machine. 2018 Update: I would recommend at least 20 GB.
    Click Next to continue.
  8. Summary - This tells you that the virtual disk is going to be created with the specified parameters.
    Click Create to create the virtual disk and continue.
  9. Summary - This tells you that the virtual machine is going to be created with the specified paramters.
    Click Create to create the virtual machine and continue.
  10. The virtual machine has been created and is shown in the VirtualBox Manager's list with other virtual machines. I've created several versions and the latest one is highlighted at the bottom of the list.
  11. If you'd like to perform more detailed configuration of the virtual machine, click the Settings button to open the Settings window. There are many components of the virtual machine that you can configure. Refer to the VirualBox documentation to learn about all of the configuration options.
    Click OK to save your changes, or Cancel to discard them.

Running a Virtual Machine

At this point, we've created the virtual machine. Our virtual machine is much like a new computer that doesn't have an operating system installed. We can't do anything until we have an OS. So, the next step is to install an operating system on it. In this case, we are going to install Linux Mint as our operating system. In the VirtualBox Manager, select the virtual machine to boot, and click the Start button.
  1. First Run Wizard - The first time you "boot" the virtual machine, you will be presented with another "wizard" to help you install an operating system.
    Click Next to continue.
  2. Select Installation Media - You have to tell the virtual machine how to boot itself. By default, it is going to try to boot off of the host's CD/DVD drive, as that's how most operating systems are installed. However, there is a much easier (and faster) method. We've downloaded an ISO file from the Linux Mint website that is a bootable DVD image. Rather than burn it to a DVD and then install from the DVD, we are just going to tell VirtualBox to "boot" from the file. It's a really cool way of installing Linux.

    In the example, the host's DVD drive is drive D, but we want to use the .iso file. Click on the folder icon to the right of the drop-down box, and you will be presented with a dialog box that you can use to browse the filesystem and locate the .iso file.

  3. Once you've located the file, select it and click the Open button.
  4. Now the dialog shows the .iso file instead of the DVD drive.
    Click Next to continue.
  5. Summary - Here you are told that the .iso file will be used to boot an installation disk.
    Click Start to boot off of the .iso file.
  6. The first thing you see is a splash screen for VirtualBox. This will show for about 3 seconds or so.
  7. Shortly afterwards, you'll see that Linux Mint is going to boot in a few seconds. If you press the Escape at this point, you will be presented with a boot menu to do other things. You won't need that at this point.
  8. After 10 seconds, Linux will start to boot and you'll see something like this:
  9. After about a minute or so, you'll see that Linux Mint is fully booted and usable. You can use Linux Mint just like any other operating system at this point. But, we don't want to run from the virtual DVD, we want to install Linux Mint onto the virtual disk in our virtual machine.

    Simply double-click the Install Linux Mint icon and follow the instructions. You can accept all of the defaults. You install it just like you would install any operating system onto a physical computer. The installer doesn't know it is installing itself in a virtual machine.

Installing Linux Mint

  1. After you double-click on the Install Linux Mint icon, you will need to choose the language:
    Click Continue to continue.
  2. The installer tells you the two prerequisites for installing Mint (enough space and an Internet connection).
    Click Continue to continue.
  3. Now you are asked how the virtual hard disk should be partitioned. For now, just accept the first selection. Don't worry, it's not going to erase your "real" hard drive. It's going to erase the virtual disk you made when you created the virtual machine.
    Click Continue to continue.
  4. The installer tells you which disk is going to be erased (/dev/sda) and the filesystem it will use (ext4).
    Click Install Now to continue.
  5. The install process is starting. It will erase the disk, format it, and then start copying files to the disk.
  6. While Linux Mint is being installed, you are asked to provide your time zone. If the default time zone is incorrect, just click your location on the world map to change it.
    Click Continue to continue.
  7. Choose your keyboard layout.
    Click Continue to continue.
  8. You need to add at least one user (so you can log in when it boots).
    Click Continue to continue.
  9. At this point the installer has all of the information it needs. Depending on the speed of the host computer and the size of the installation (CD or DVD) you will have to wait a few minutes to maybe an hour.
  10. When the installation is complete, you will be prompted to restart the computer.
    Click Restart Now to reboot the virtual machine.
  11. Before the new virtual machine will restart, it will ask you to remove the installation media and close the tray. Yes, it really thinks it was installing from a "real" DVD drive.
    Press the Enter key to really reboot the virtual machine.

    When it restarts, you will be able to login to the machine using the username and password you created during the installation.

Linux Mint User's Manual - The documentation contains more details about Linux Mint. Choose the version of the manual that coincides with the version of Mint that you are using. It's only 50 pages, so you should sit at your Linux computer and read through it.