Installing The Cygwin Utilities
(includes the gcc/g++ compiler and tools)
Get this version:
cygwin2012.zip
(MD5: 157cfec4db2496321b43ae9cdebc360a).
This is the version of the Cygwin utilities that are installed on the Digipen computers.
Cygwin is actually a collection of Unix-like programs that have been
ported to Windows. This is sorely needed because Windows comes with almost no support programs for
computer-literate users (which is one of the reasons you are going to this school).
Cygwin includes things such as programming languages like Java, Perl, Python, Ruby, C, C++, and D,
development tools like make, flex, bison, CVS, Subversion, Boost, and Doxygen, graphics libraries,
audio utilities for vorbis and FLAC files,
compression and encryption utils like zip, bzip, zlib, upx, crypt, and gnupgp,
network and web tools like ssh, rsync, curl, wget, Apache. The list goes on and on and on...
A lot of you have probably never heard of most of these things. By the time you finish school, you will have used
several of them (or more) and find you can't live without some of them. (ssh, rsync, wget anyone?)
From the Cygwin website:
Note that, when installing packages for the first time, setup.exe does not install every package.
Only the minimal base packages from the cygwin distribution are installed by default.
Clicking on categories and packages in the setup.exe package installation screen will provide
you with the ability to control what is installed or updated. Clicking on the "Default" field
next to the "All" category will provide you with the opportunity to install every Cygwin package.
Be advised that this will download and install hundreds of megabytes to your computer. The best
plan is probably to click on individual categories and install either entire categories or packages
from the categories themselves.
Once you've installed your desired subset of the Cygwin distribution, setup.exe will remember what you
selected so rerunning the program will update your system with any new package releases.
There is also a lengthy FAQ.
This document describes how to install the entire collection of utilities. It is certainly possible to install only a portion
of the programs to get the "desired" functionality. However, I do not know the exact list of packages and/or programs that
need to be installed to get a "useful" system. In addition to the compiler and associated development tools, I use many other tools
on a daily basis.
I have already selected and downloaded all of the necessary packages for convenience and put them in a file named
cygwin2012.zip (MD5: 157cfec4db2496321b43ae9cdebc360a).
After you download this file, you will need to create a temporary folder on your hard drive and extract the files into that folder. In that folder you will
see a file called setup.exe. This is the installer for Cygwin. Just run that program and follow the prompts below.
- Navigate to the folder that contains the Cygwin installer setup.exe.
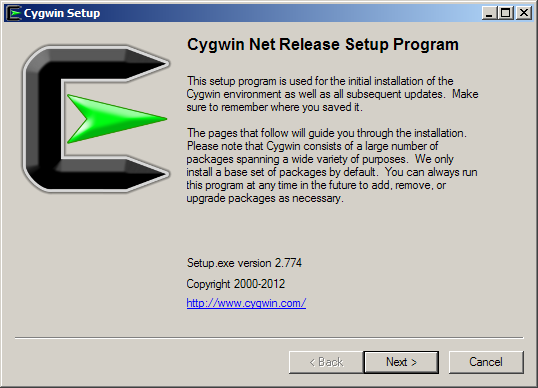
- Run the installer. The initial screen displaying the version of the installer is shown. Click Next
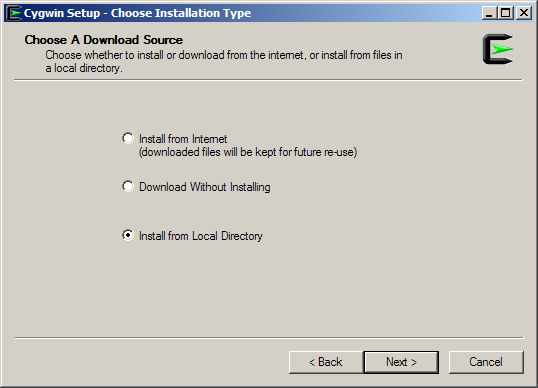
- Since all of the install files are already present, you don't have to download anything or use
the Internet. Select the third option Install from Local Directory and click Next.
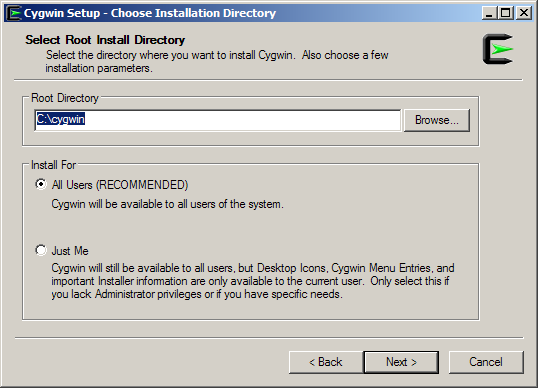
- Where do you want the files installed? You should probably choose c:\cygwin unless you
know what you're doing. What ever you do,
DO NOT put any spaces in the folder names. Ever. Period. You should install for All Users.
Click Next
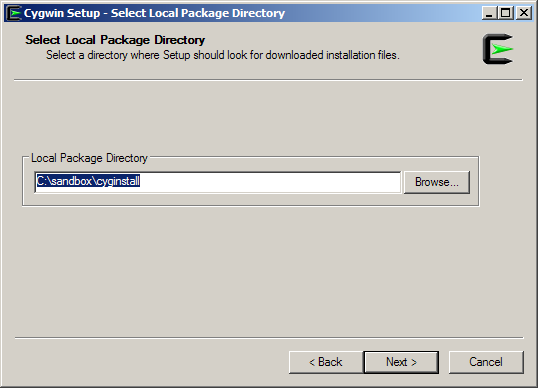
- Where are the files that you want to install? They are in the temporary folder where you extracted the .zip archive.
In this example, the archive was extracted into the folder called C:\sandbox\cyginstall.
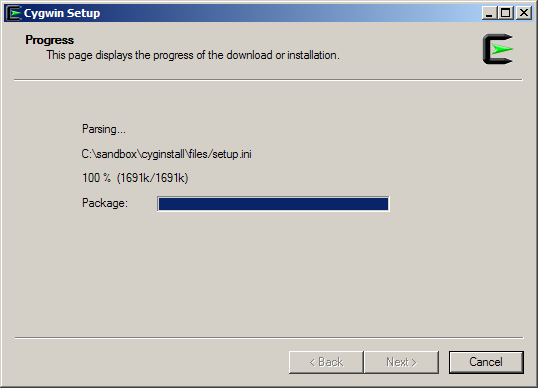
- The Setup program is parsing the setup.ini file to see what's available for installation. This will take a few seconds as
there are lots of packages to install.
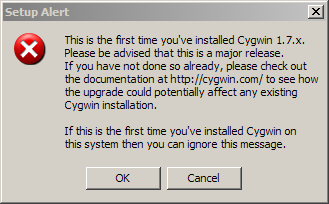
- Depending on the exact version of Cygwin, you may see an alert telling you that this is a major release. You can just click OK.
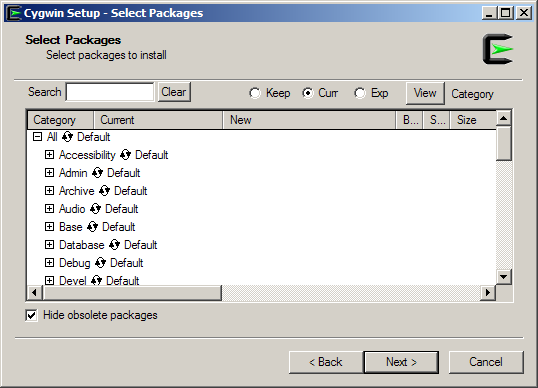
- This shows a list of the categories that are available. It says "Default" next to all of the packages, meaning
that the Setup program has determined what packages you are likely to want to install. Unfortunately, this leaves you
with a lot of missing programs. Click the mouse on the word "Default" on the first line next to "All". This
should change all of the "Default" labels to "Install". Incidentally, clicking on the "Default" or "Install" labels toggles
between "Default", "Install", "Reinstall", and "Uninstall", giving you total control over the installation of the programs.
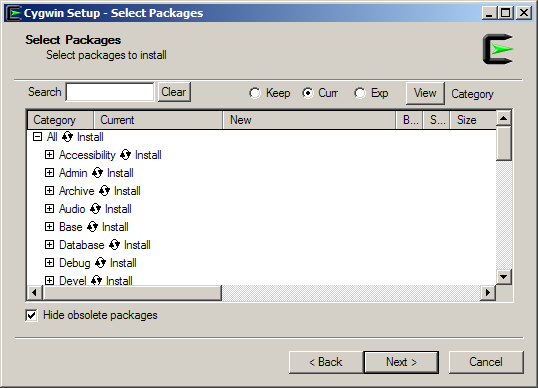
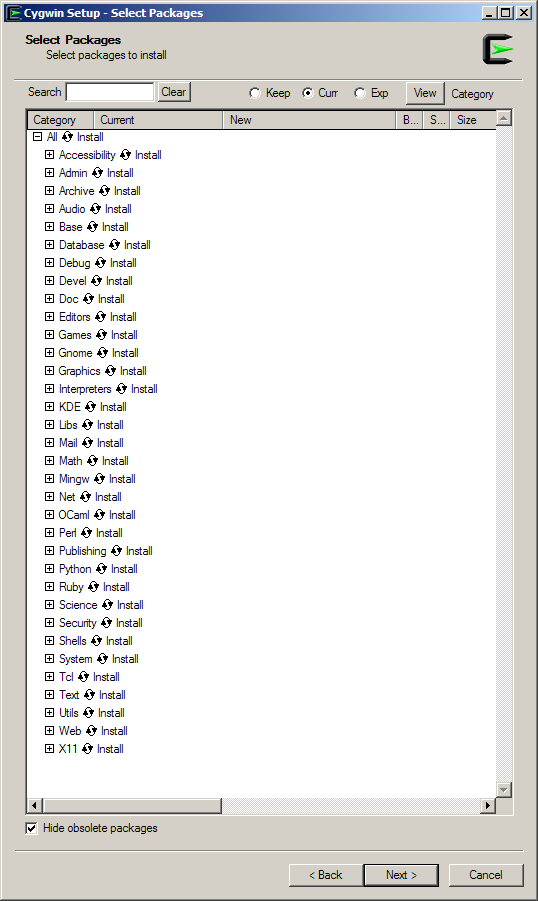
- This image shows all of the labels now reading "Install", which means that you will be installing everything. This
is quite a lot of files, so you'll need to make sure you have about 3 GB of free space. That may sound like of lot of
space (and it kind of is), but you're getting well over 1,000 programs installed. The nice thing is that the installer doesn't
mess with the registry or screw up DLLs like Windows Installers do. Uninstalling is as simple as deleting the files.
- An expanded view showing all of the various categories of packages to install. Newer versions of Cygwin may have a slightly different list.
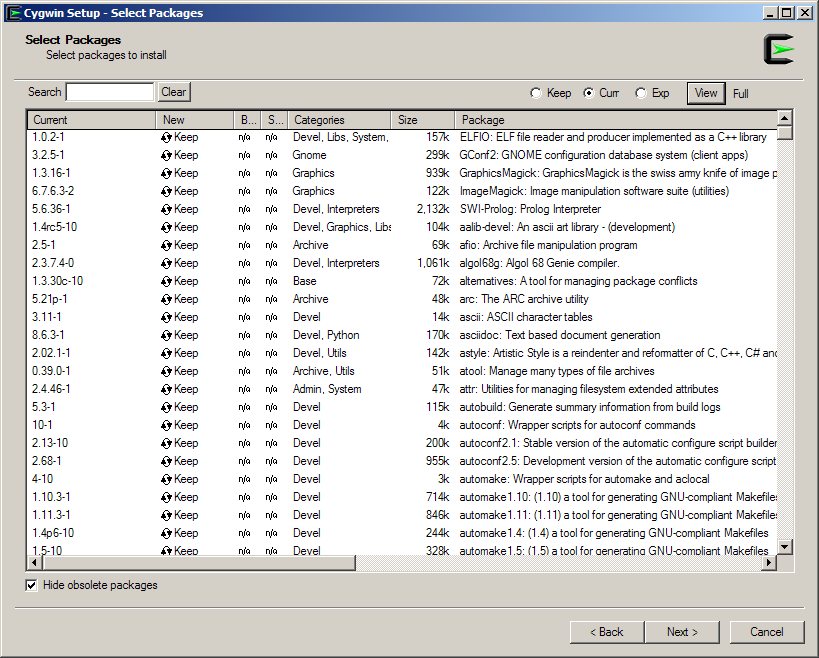
- If you click the View at the top right, you can toggle the different views of the available programs.
Click Next to start the process.
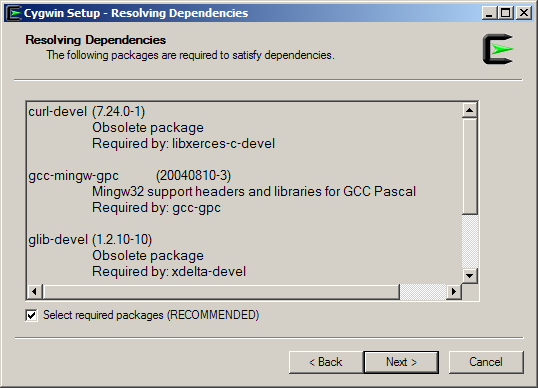
- Depending on the version you are installing, you may get another dialog box that asks you to resolve these dependencies. Click Next
to continue.
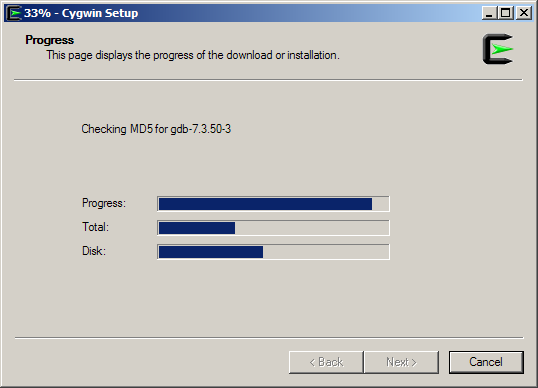
- The first thing the Setup program does is to verify that the files you are installing have not been tampered with. It's
performing an MD5 checksum on the files.
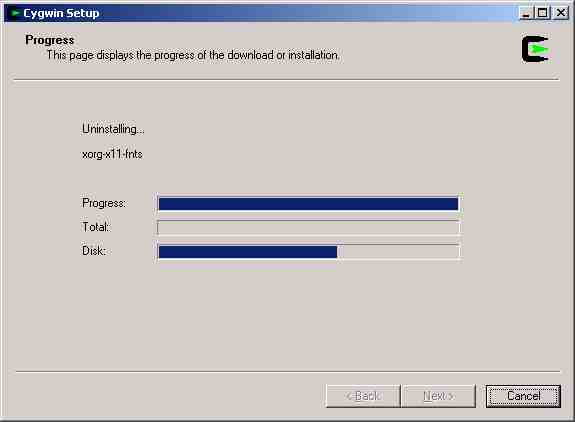
- After the verification is complete, any out-dated packages will be removed. This may happen if you already have
an older version of the Cygwin utilities installed.
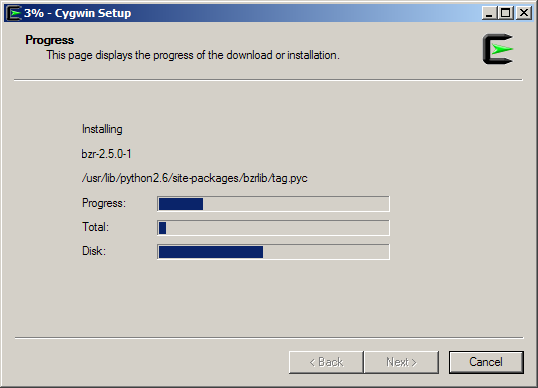
- Now, the actual installation will take place. This could take anywhere from 10 minutes to an hour or so, depending on
the speed of your computer.
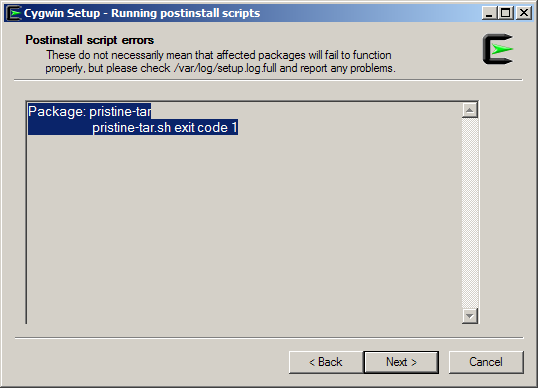
- After the installation of the files is complete, the Setup program runs a few post-install scripts to configure
everything properly.

- After the files are installed and configured, you may get a message telling you that something failed to install correctly. This is normally
OK, unless you have many errors on important packages.
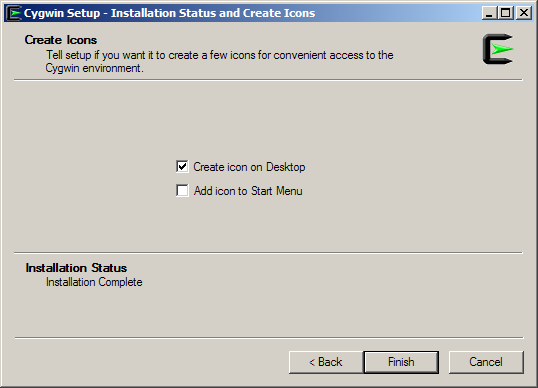
- Finally, you're asked if you want a shortcut to the Bash shell on your desktop. Go ahead and accept it. You can always
delete it later if you don't want it. (It isn't necessary if you're only interested in using the gcc compiler from the Windows command prompt.)
Done. Almost.
- If you want to be able to use the Cygwin utilities from any command prompt (which you most definitely do!), you'll need to add the location
of the Cygwin folder to the path. Assuming that you have installed Cygwin in c:\cygwin, you will need to add
c:\cygwin\bin to your path. If you don't know how to modify the PATH in Windows, you can
find out how here.
In Windows 7, from the command prompt, you can do this:
setx PATH "%PATH%;c:\cygwin\bin"
This assumes that you installed Cygwin into c:\cygwin and that you have admin
access on the computer.
- Finally: If you try to compile a C or C++ file and get an error: Acesss is denied, you will have to perform a few actions to fix the problem.
Cygwin comes with two versions (3.4.4 and 4.5.3) of the GNU compilers and the executable files are named gcc-3.exe and
gcc-4.exe, respectively. (There is no file named gcc.exe or g++.exe available to the command line in Windows because of this.) There are also
two versions of g++ (g++-3.exe and g++-4.exe).
To set things up so that under Windows you just type gcc or g++ to run the compilers, you
should make copies of the compilers executable files you want to use. For example, if you want to make version 4.5.3 the default compiler,
(and you DO want the newer version of the compiler), you would do this:
- Open a command window anywhere. This assumes you installed to the C drive in C:\cygwin.
- Execute all of these commands:
attrib -s "c:\cygwin\bin\gcc.exe"
attrib -s "c:\cygwin\bin\g++.exe"
rename "c:\cygwin\bin\gcc.exe" "gcc-old.exe"
rename "c:\cygwin\bin\g++.exe" "g++-old.exe"
copy "c:\cygwin\bin\gcc-4.exe" "c:\cygwin\bin\gcc.exe"
copy "c:\cygwin\bin\g++-4.exe" "c:\cygwin\bin\g++.exe"
Or, if you want to make a batch file to do this more easily, copy and paste the following lines into a file called fixcygwin.bat
(or download the file)
@echo off
echo Removing system attributes...
attrib -s "c:\cygwin\bin\gcc.exe"
attrib -s "c:\cygwin\bin\g++.exe"

echo Renaming current files...
rename "c:\cygwin\bin\gcc.exe" "gcc-old.exe"
rename "c:\cygwin\bin\g++.exe" "g++-old.exe"

echo Making version 4 the default...
copy "c:\cygwin\bin\gcc-4.exe" "c:\cygwin\bin\gcc.exe" > nul
copy "c:\cygwin\bin\g++-4.exe" "c:\cygwin\bin\g++.exe" > nul

echo Done.
Now, just type:
fixcygwin
at the command prompt where you saved it (or double-click the file from the Windows Explorer), and you should be good to go.
You should now be able to type gcc or g++ from any command window and get the later version of the compilers.


