This webpage is based on information from these links:Disclaimer: These instructions were tested with Windows 10 build 19042 in May of 2021. The latest version of Ubuntu at this time is 20.04. Any version will likely work just fine, however, some of the instructions may be out-dated in time. Also, this document only shows how to setup WSL version 1 (the latest is version 2). Since we only need the capabilities of version 1, that's what I'm showing. If you want to install version 2, you will have to do more work. The first link below goes into detail on how to install version 2.
Enabling WSL and Downloading Ubuntu
After running the command, reboot the computer. It will install more things during the shutdown and restart phase.dism.exe /online /enable-feature /featurename:Microsoft-Windows-Subsystem-Linux /all /norestart
This will download the distribution. The file will be named Ubuntu.appx and is about 450 MBs. It may take a few minutes to download depending on the network speed.Invoke-WebRequest -Uri https://aka.ms/wslubuntu2004 -OutFile Ubuntu.appx -UseBasicParsing
And that's it! Ubuntu 20.04 LTS has been installed and is ready to be setup. That's the topic of the next section.Add-AppxPackage .\Ubuntu.appx
More details:
Setting Up WSL
Congratulations! You are now running Linux (inside of Windows)! You can tell because the command prompt has changed:
If you are familiar with Linux you can skip the rest of this brief tutorial and just start having fun with it! However, if you are new to Linux, you can continue on and see how to get a build environment and memory debugger setup.
Updating and Installing Software in Linux
Disclaimer: The screenshots in this section were taken while running Ubuntu version 18.04 (and an older build of Windows 10), so the exact output will likely be different on your system.
It will prompt you for your password (the one the just created, which is the same as your Digipen Windows password, right?) It will run for a minute or so and then tell you it's done:sudo apt update
It will figure out which packages (apps) have been updated and then download and install them. Depending on how out-of-date your system is, this could take no time (everything is up to date) or many minutes (lots of outdated software).sudo apt upgrade
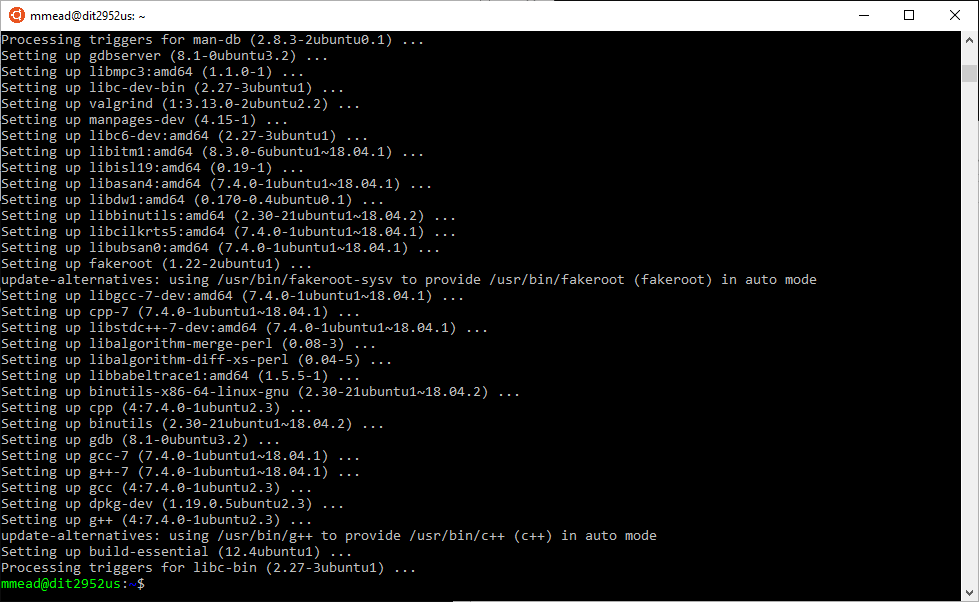
The output (not shown) will look something like the pictures shown in step #3 and #4 below.
This will install the GCC C compiler, C++ compiler, Valgrind (the memory debugger) and some other dev tools (make, etc.). It will take a few minutes.sudo apt install build-essential gcc g++ valgrind
Congratulations! You've just setup a development environment, installed a C and C++ compiler, and installed a memory debugger! You can now close the command window.
Testing Valgrind in Linux
#include <stdlib.h>
int main(void)
{
  malloc(123); /* Leaks 123 bytes of memory */
  return 0;
}
Remember the command wsl as it is the command you use to switch into Linux. You
will still be in the same directory as you were in Windows (which is very convenient).
To get out of Linux and return back to Windows, simply type exit while you're
in Linux. If you happen to type exit while you're in Windows, it will close
the command prompt and you'll have to reopen it.
Notice the directory you're in. My example shows: /mnt/c/Users/mmead/Documents/warboats
When you're in Linux, the entire C drive for Windows is located in /mnt/c.
Also notice that directories are separated by a forward slash / in Linux.
Windows uses a backslash \.
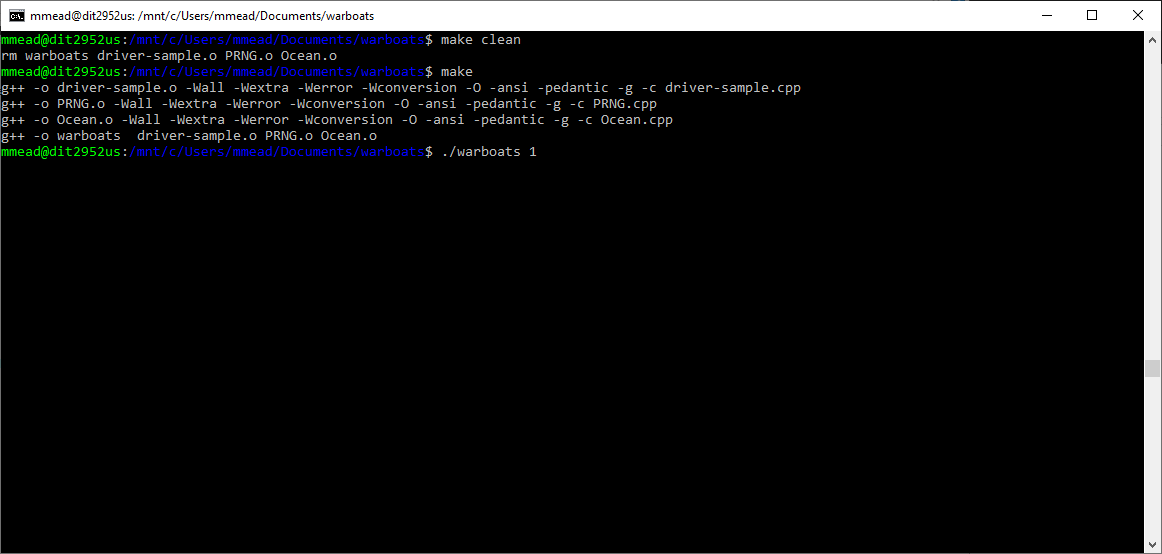
Once you've built the project, execute it to make sure it actually works. Remember, in Linux and Mac, you run the program like this with a leading dot and forward slash:
./warboats 1
The next screenshot shows you what happens after running the program.
Ok, it looks like things are working. Now, let's add a memory leak!
This will cause Valgrind to run WarBoats (the first test only) and to look for memory problems. The end of the command:valgrind -q --leak-check=full --show-reachable=yes ./warboats 1 > /dev/null
suppresses the output from WarBoats (redirects it to nowhere). At this point, we don't care what the output is because we just want to see Valgrind's output. We can see that Valgrind found the memory leak:> /dev/null
It says that 48 bytes were leaked. This is simply because that's the sizeof(Ocean). Here are the relevant structures to see for yourself. (There are 4 bytes of padding for alignment in the Ocean struct)
  //! Statistics of the "game"
struct ShotStats
{
  int hits;       //!< The number of boat hits
  int misses;     //!< The number of boat misses
  int duplicates; //!< The number of duplicate (misses/hits)
  int sunk;       //!< The number of boats sunk
};

  //! The attributes of the ocean
struct Ocean
{
  int *grid;        //!< The 2D ocean
  Boat *boats;      //!< The dynamic array of boats
  int num_boats;    //!< Number of boats in the ocean
  int x_quadrants;  //!< Ocean size along x-axis
  int y_quadrants;  //!< Ocean size along y-axis
  ShotStats stats;  //!< Status of the attack
};
as it probably won't affect any of you. If you're interested, you can find some information on that error here or Google for more.error calling PR_SET_PTRACER, vgdb might block
Links